Getting started
Add your first shipment
Track a container or a bill of lading in about thirty seconds — and what to do when the carrier has not published it yet.
Adding a shipment takes one reference number. You do not need the carrier, the booking, or anything else on the paperwork.
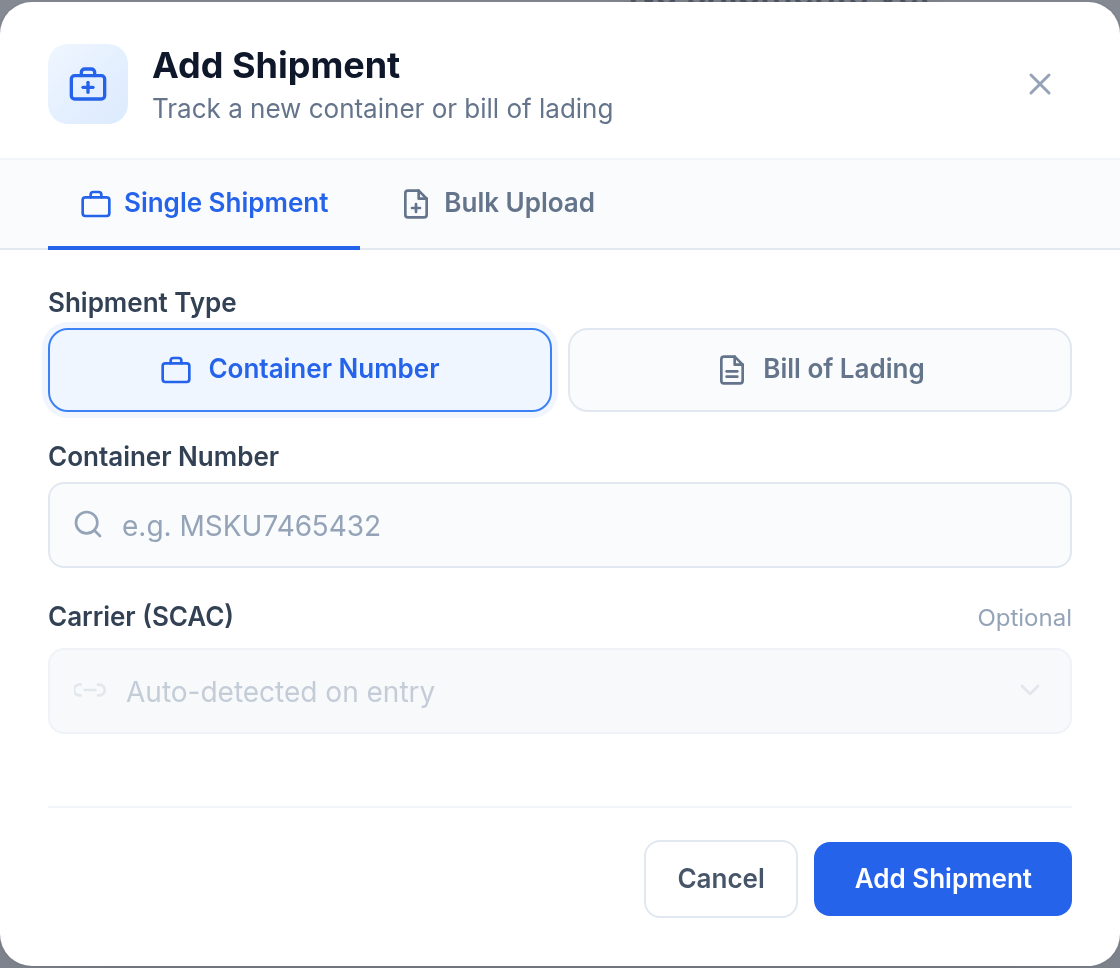
Add one shipment
- Open Shipment Tracking and press Add Shipment.
- Choose Container Number or Bill of Lading.
- Paste the reference — for example
MSKU7465432. - Press Add Shipment.
The Carrier (SCAC) field is optional and says so. We detect the line from the reference itself, and you only need to set it by hand when the prefix belongs to a lessor rather than the line actually carrying the box.
Container number or bill of lading?
Both work, and they answer different questions — a BL covers the whole consignment, a container number covers one box. Tracking by container number or bill of lading covers which to use.
Adding a lot at once
The Bulk Upload tab takes a file of references instead of one at a time. Same rules per row.
When nothing comes back
The usual reason is that the carrier has not published the booking yet — a new one can take a day to appear. Beyond that:
- Check for a stray space or a transposed digit. Container numbers carry a check digit, so most typos are caught before we ever call the carrier.
- Confirm which line is actually carrying it. A reference that belongs to a different carrier will not resolve.
- A house or forwarder BL issued by an NVOCC often is not visible to the ocean carrier at all. Ask for the master BL.
A shipment that does not resolve does not count against your plan.
Was this helpful?